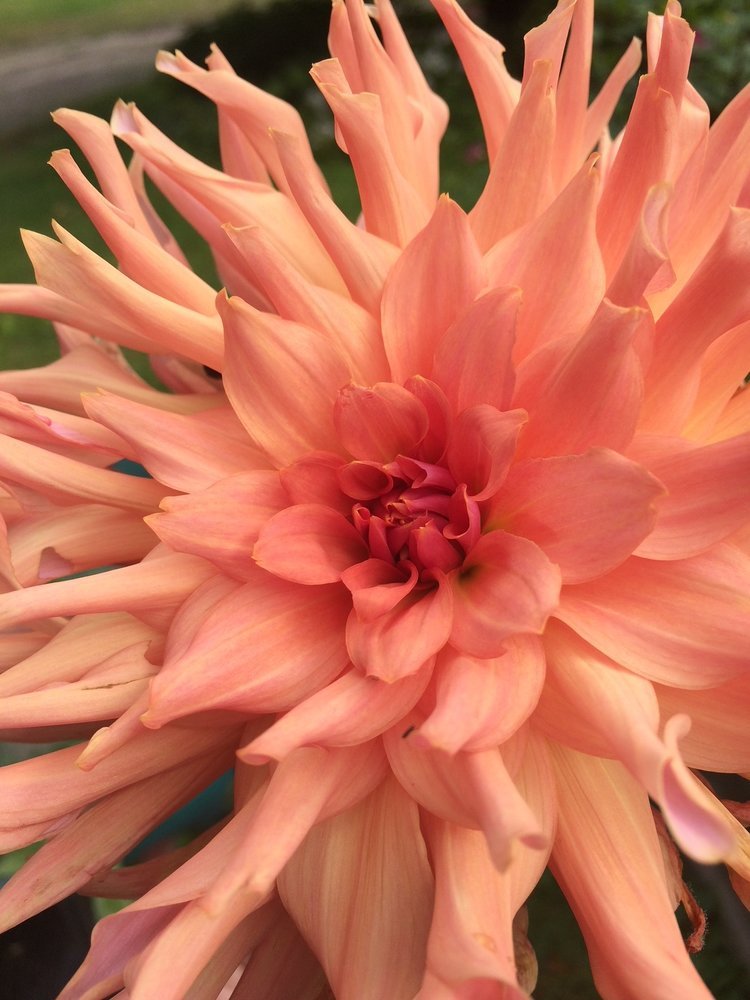
Dahlia Care
How I grow dahlias

I’m a great believer in simple methods. In a nutshell, this is a year in my life as a dahlia grower.
In winter and spring I prepare the soil in my flower beds. I originally invested in several truck loads of rich loam to which I add composted donkey manure, pasture soil and peat moss every year. Peat moss makes the soil airy and light, easier for tubers to elbow out. I don’t add fertilizer at planting; I believe in gentle births.
I have many flower beds but my favorites are eight large raised beds that are surrounded by stone walls. These stones act to contain heat and keep out bugs and moles in the summer, and help heat and ferment manure to a rich compost in the off season. My other flower beds don’t have the luxury of stone surrounds but I learned (by visiting Swan Island Dahlias in Oregon) that simply mounding soil to create faux raised beds works well, too. The taller the mound, the faster soil warms to encourage tuber growth while also providing support for emerging base stalks.
I wait to plant until there isn’t a chance of frost. There is no benefit to starting too early with dahlias; they crave warm soil. I start many tubers in my greenhouse to get eyes bright green and shoots starting. I make sure the soil in each planting location is somewhat aerated, soft and pebble-free. Then I plant my tuber about 4-6 inches down. Make sure the tuber eye is facing up toward the sky. Before I cover the tuber with soil, I sink a 5 or 6 ft stake with the variety name label into the earth 3-4 inches from the tuber. This stake is going to eventually support the plant. I don’t want to stab a tuber after it is buried, so it is prudent to insert the stake now. I lightly pack soil over the tuber and move down the row, about 2-3 feet away and begin again. I do not water tubers when I plant them because they can immediately rot.
When the garden is fully planted and my time is still generous, I draw a diagram of each bed and then walk around and record the name and location of each dahlia planted in that bed. A wind storm, animals or human error can lead to the loss of name labels. A back up diagram may become your only accurate record and that’s critical to have if you expect to divide and sell tubers down the road.
When the first green shoots come through the soil, I water gently. I hand water so I am constantly assessing the thirst of my plants. Rotting is a real problem with tubers, so I take a light hand with watering. As long as the leaves aren’t wilting or looking limp, the plants are ok. After plants are established I water about 3-4 times a week, ensuring a good soaking for each plant.

When the plants are about 12-18” high and their stalks are beginning to produce forking laterals , I cut back the central stem several inches just above the first fork, to encourage stronger lateral branching. This one-time cut will better support and balance the future weight of the plant and provide more blossoms. The most important aspect of this practice is timing. You must cut dahlia stems back on a dry day with the expectation of at least one or two more dry days to follow. If it rains after you cut the stems, the new hollow stem will collect rainwater before it seals itself, and this water will drain down to the tuber and potentially rot it.

Dahlias bloom best with an added fertilizer boost of a low nitrogen, high potassium, high phosphorus mix. I use 5-10-10 seaweed based Maxsea that I dilute and spray around the base of my plants, three times per season (late June, late July, late August).
I own two sweet miniature donkeys and fortunately, their manure is naturally low in nitrogen and takes only six weeks to compost, so everything they produce during the year goes back into my beds. I love the self-sufficiency of this operation on my farm and the low footprint it produces.
Once dahlias start blooming, deadheading and cutting blossoms are worthy labors, encouraging a longer bloom period. I live in Massachusetts and usually receive a frost in the first or second weekend of October. I diligently deadhead all summer to make sure my short season is as robust as possible.
I don’t worry much about pests where I live. Deer don’t bother dahlias and rabbits occasionally eat the low leaves but can’t reach buds or flowers. I will never use pesticides on my property, as I am also a wildlife rehabilitator and want to leave a clean legacy on the land. My secret weapon toward bugs is a flock of wild turkeys that has been in residence for several years. They forage around the edge of the beds and love thrips and Japanese beetles and ticks. I feed the flock all winter to encourage them to work their magic in the spring and summer. You won’t see them up close if you visit however; they are shy with visitors and retreat to the woods. I suspect that slugs have a difficult time getting up into the raised beds, thank goodness. I’ve never had one on a dahlia plant. I haven’t had vole or mole damage in the raised beds, either.

I also hang hummingbird feeders everywhere. Hummers are actually good insect eaters, in addition to being nectar drinkers. The collarette dahlia varieties attract several varieties of bees in droves and they seem to keep some other bugs at bay. I’m not naive about the ebb and flow of pests but am resigned to accept some future losses to keep my gardens as organic as possible.
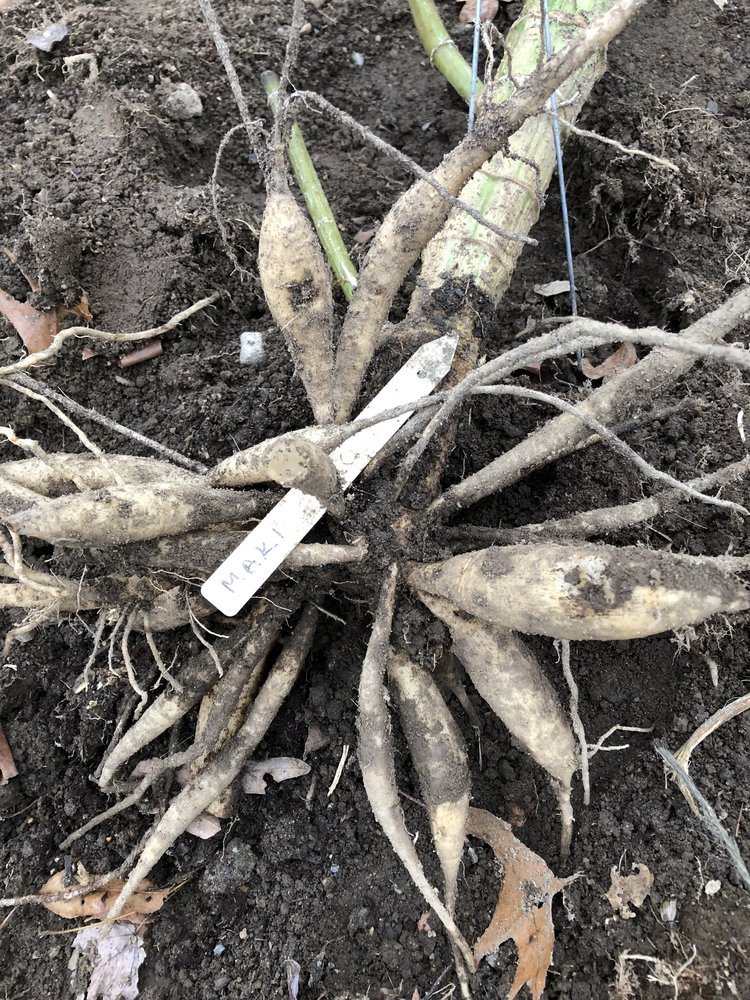
When you do have a killing frost in the fall, allow the tubers to cure in the soil for a week or two, providing the weather does not stay bitterly freezing. Cut off the foliage and stems that are blackened from the frost, leaving just a few inches of the central stem. Then gently dig the tubers up with a shovel and set them out on top of the soil. At this time, I take a flexible plastic plant label and secure it around the base stem of the tuber cluster, to confirm its variety name.
I wash the tubers gently with a hose, until most of the dirt is removed. If weather permits, I take them by the wheelbarrow full into the barn and lay them on a tarp to dry out for several days.
I then take the clumps inside to my root cellar where I divide and store them. I do this in the fall because they are easier to cut through. The eyes may be more visible in the spring but the tuber clumps become like shoe leather and are much harder to divide by hand in the spring. I use Japanese bonsai sheers to make sharp, exact cuts near fragile eyes. I use garden shears and sometimes even loppers to divide big clumps. Everyone has their own method. I initially divide each clump in half, then look for natural breaks in the clumps, until I have separated out each tuber with at least one viable eye.
There are many methods for storing and I’ve tried several. My advice is to first assess your storage area, average temperature and humidity levels and then decide how you will store. I tried the saran wrap method but had too much rot and the monthly re-wrapping to check on tubers was hugely labor intensive over the course of the winter.
I have now found a method that really works for me. If I have just a few tubers of a variety, I fill a plastic gallon ziploc bag with very fine commercial grade vermiculite and label it with the variety name. I add the tubers and make sure that they are covered. Then I leave the bag open and place with other bags in open storage bins in my root cellar. I cover these bins with two loose sheets of newspaper. I keep the bins alphabetized to have easy access to my inventory. For those varieties that produce many tubers, I simply fill small plastic storage bins with vermiculite and gently bury the tubers directly in the bin. I put the top on the bin on but leave a crack open, for air flow.
Ideally you want your storage area to be between 40-50 degrees Fahrenheit. The magic balance of temperature and humidity control will dictate whether the dormancy you tried to induce in your tubers has kept them viable.
If all works according to plan, your tubers will be healthy and ready for planting in the spring!